Wedding nails have one job that regular nails do not: they have to look right in close photographs, survive a long day of hands being busy, and still feel like you. In Albemarle, most brides and attendants who are happiest with the result did not pick the most elaborate set they saw online. They picked a shade close to their own skin tone, a length they could already type and fasten jewelry with, and a finish that would not fight the dress, the flowers, or the ring for attention.
This is a practical timeline, not a shopping list. The simple parts, testing shades at home and breaking in a new length with press-on nails, you can do yourself. The trial set and the final set belong with a professional, because small choices about shape and product made two weeks out are hard to undo the morning of the wedding.
Start with length and shape you can live in
A wedding day is full of small hand tasks: holding a bouquet for an hour, signing a license, working a clasp, opening cards, eating, dancing. Long extensions that feel fine at a desk can catch on lace, veil netting, and zippers. A short to medium length, usually just past the fingertip, photographs cleanly and is far less likely to lift or snap if it knocks a car door. Almond and soft square shapes tend to flatter most hands in photos and have no sharp corners to snag fabric. If you normally wear your nails short, do not jump three lengths for one day. Grow or build to a modest length at the trial and wear it for normal life first.
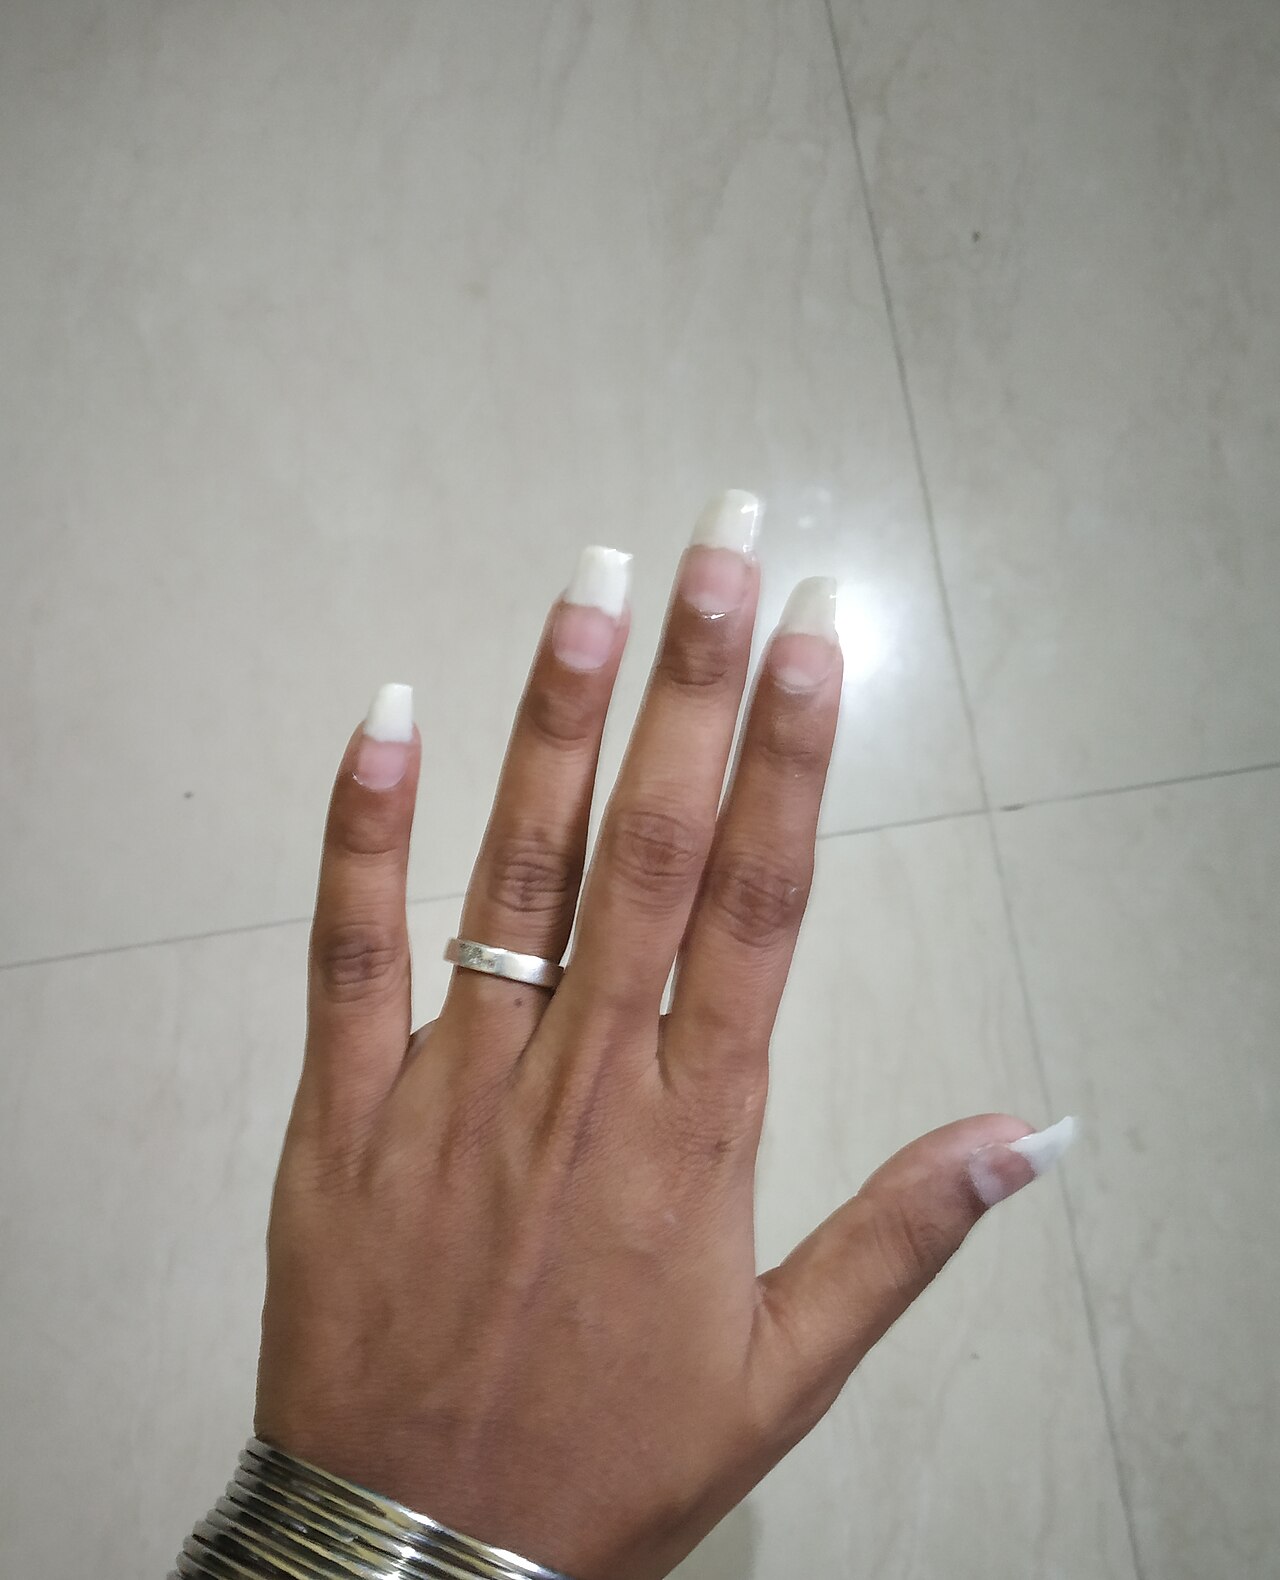
Neutrals that photograph well
Classic does not have to mean plain white. Sheer pinks, milky whites, soft beiges, and pale blush shades are popular for weddings because they even out the nail without drawing the eye away from the ring. A French tip is the most requested version, but a sheer neutral with a glossy top coat often looks fresher on shorter nails. Strong reds, dark berries, and bright colors are a real choice too, especially for fall and winter weddings, as long as the shade is deliberate and matches nothing it has to compete with by accident. Test any shade in daylight and indoors, because Piedmont summer sun and warm reception lighting can pull the same polish pink in one place and orange in another.
The trial timeline, step by step
- Four to six weeks out: Decide length and shape, and if you want extensions, gel, or dip, start them now. Products need a wear test, not a debut, near the wedding.
- Three to four weeks out: Book a trial set in the exact shade and finish you think you want. Take photos of your hands holding something similar in color to your flowers.
- The week after the trial: Live in the set. Note any lifting, snagging, or shade regret while there is still time to change one variable, not five.
- Two to three days before: Get the final set or a careful fill and fresh polish. This is close enough to look new and far enough out to fix a problem.
- The day before: Apply cuticle oil, moisturize your hands, and do no gardening, deep cleaning, or box moving without gloves.
- Wedding morning: Wash and dry your hands, add one more thin layer of cuticle oil early, and keep a small file in your bag for a rough edge, not for reshaping.
At Nail Care in Albemarle, classic manicures, gel manicures, dip powder, acrylic full sets, and custom nail art are all on the menu, which matters for a trial: you can test the same shade in two different systems and learn which one wears better on your nails before you commit to the final appointment.
What to bring and what to skip
Bring a photo of the dress color if you have one, a picture of the bouquet if it is settled, and the ring if it is handy. Those three things settle most shade arguments quickly. Skip last-minute nail art copied from a very long set if your set is short, because designs scale down poorly and can look crowded. Skip a brand new product system the week of the wedding if you have ever reacted to gel or acrylic before. And skip doing your own removal the night before a final set. Peeling or forcing product off thins the nail surface and gives the new set less to hold onto.
For attendants and partners
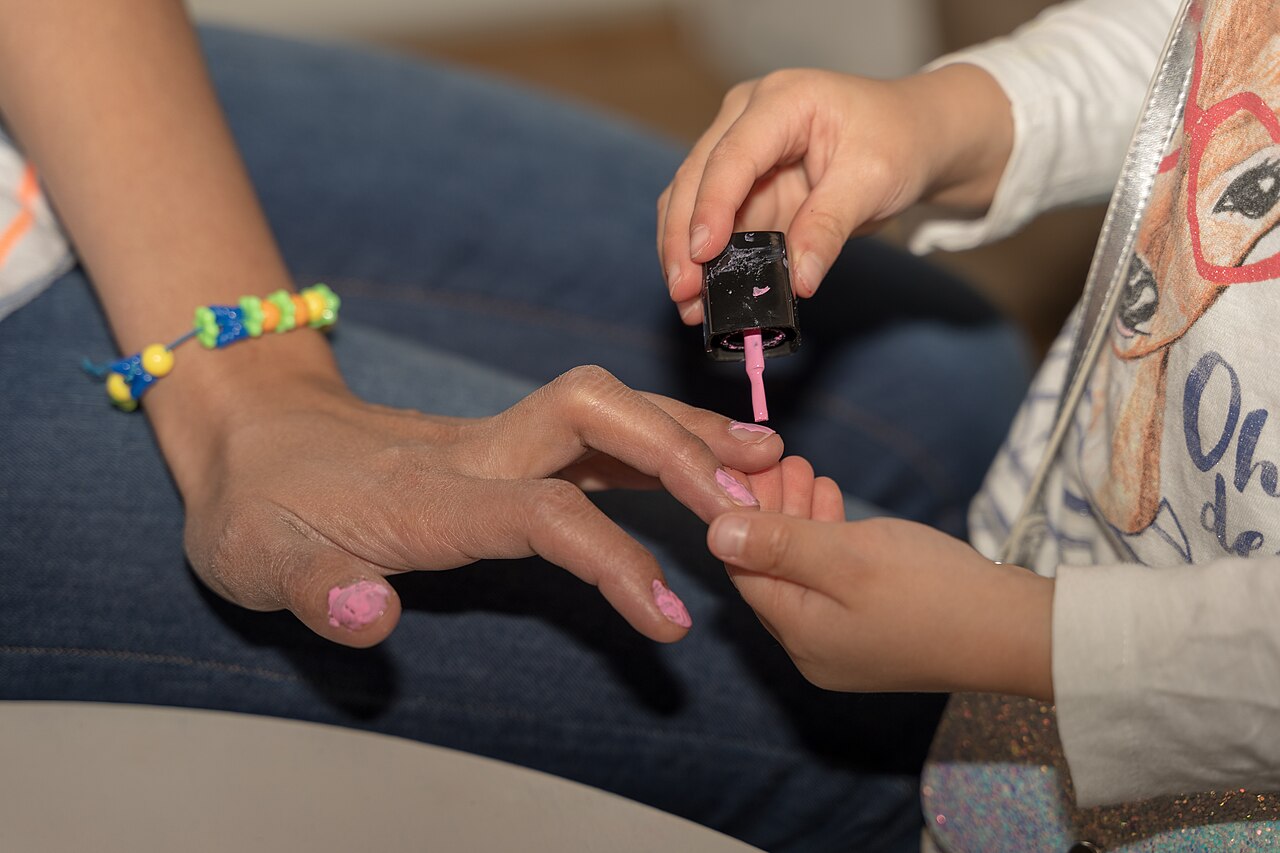
Bridesmaids, mothers, and partners do not need matching nails. They need tidy nails at a similar level of polish. A classic manicure with clear or sheer polish, trimmed cuticles, and filed edges looks finished in group photos without anyone wearing a shade they dislike. Booking the group into the same two to three day window keeps everyone equally fresh and avoids one person coming in a week early and arriving with a chip.
Common questions
How far ahead should I book wedding nails?
Book the trial three to four weeks before and the final set two to three days before. That spacing leaves room to change shade or length after the trial without rushing.
Is gel, dip, or regular polish best for a wedding?
Gel and dip last longer and resist chips through a busy weekend, while regular polish is easier to touch up and remove. Choose based on how many days the set needs to last, not on which sounds fancier.
What if I break a nail the day before?
Call the salon as soon as it happens rather than gluing it repeatedly at home. A single nail can usually be repaired or rebuilt to match if there is a little time before the event.
Photos in this guide are representative stock images.
← All guides from Nail Care← Back to Nail Care